Good Gourd! Artwork From the Vine
16 Oct 2020
More than decorative fall staples, gourds can be made into many things
By Carol O’Meara
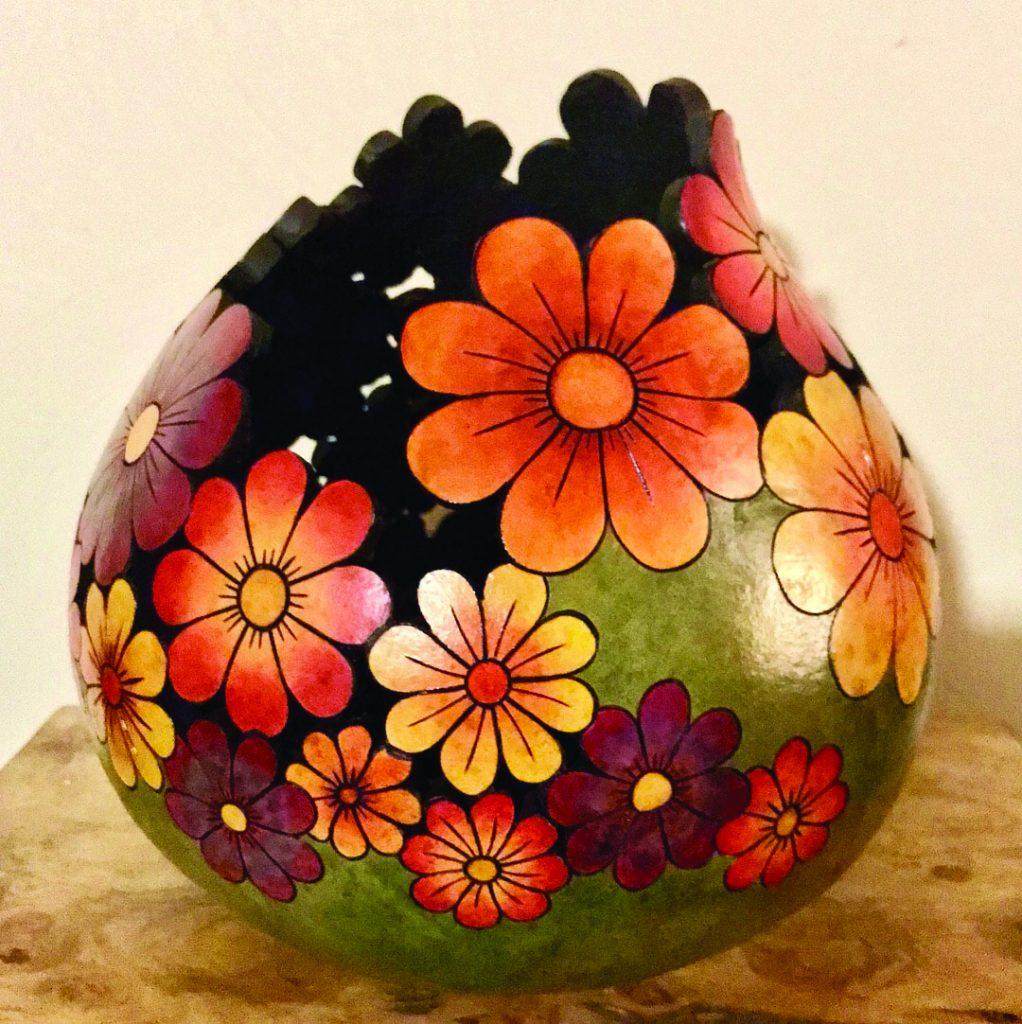
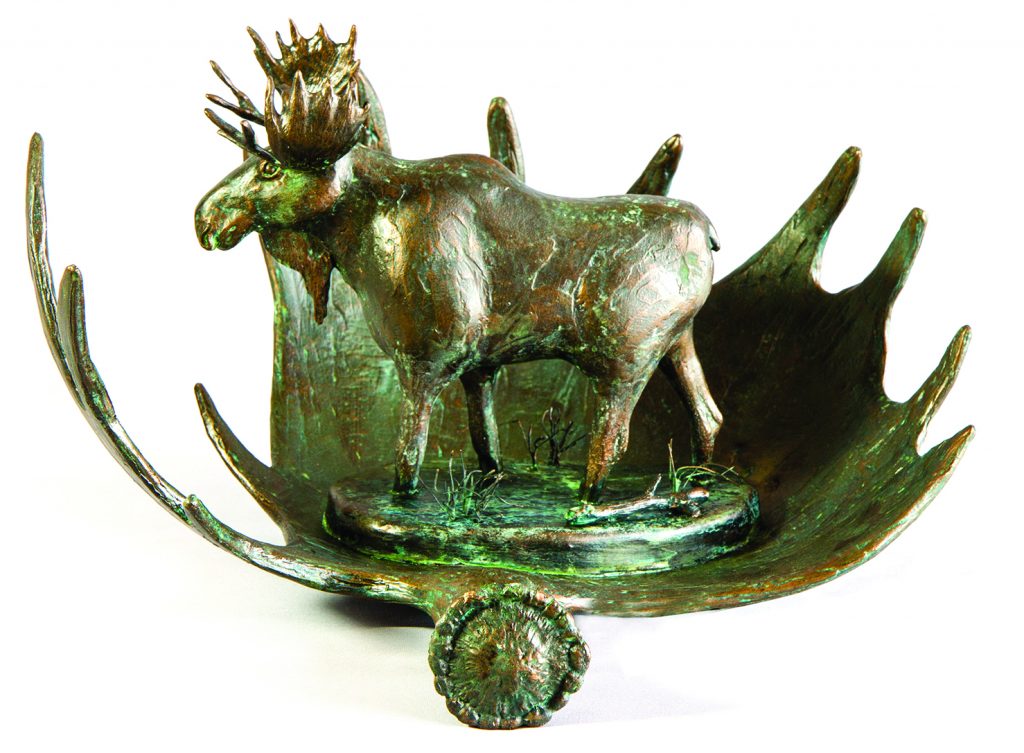
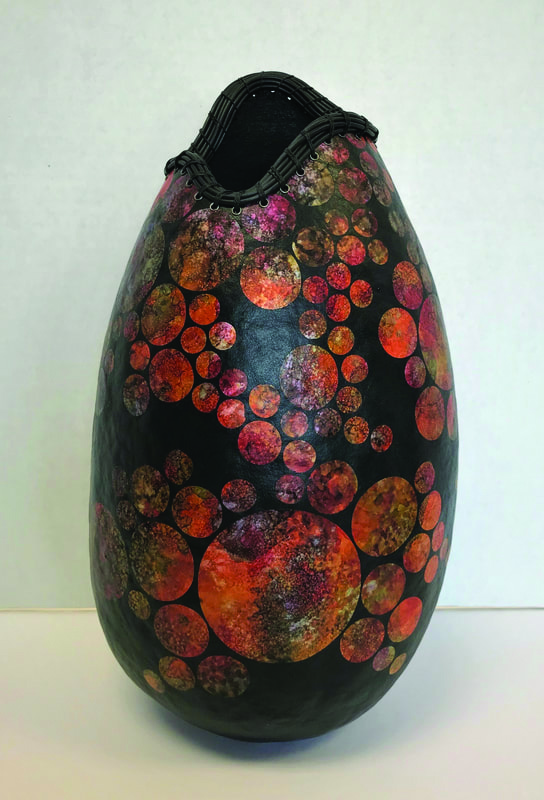
Gourds have been an essential part of human life throughout history. Excavations in the Americas show gourds were in use 10,000 years ago as vessels and more. Creativity knows no bounds when it comes to gourds, either. Big, little, warty and smooth, these fanciful fruits can become fine art as well. “People are drawn to gourds because you can create fantastic, awe-inspiring art out of nature,” says Reagan Bitler, artist and president of the American Gourd Society. “They can be cut, carved, burned, stained, woven upon. They’re a multidisciplined canvas to work with.”
The Right Cure
There are several methods for curing gourds to make them last for years. According to the American Gourd Society, gourds grown in hot, dry, western states are tougher to clean due to their baked-on white skin. Colorado is hot and dry too, so the recommended curing method here is to submerge gourds in damp potting soil for three days to soften the skin and make it easier to remove. Pour several inches of potting soil on the bottom of a large tub, lay the gourds on top without letting them touch each other or the tub, add potting soil to cover, place more gourds on the soil, cover and continue until you reach the top of the tub. Make sure a full layer of potting soil covers all parts of the gourds, then dampen the potting soil with a small amount of water—approximately one quart per 5-gallon container.
Gourd Guide
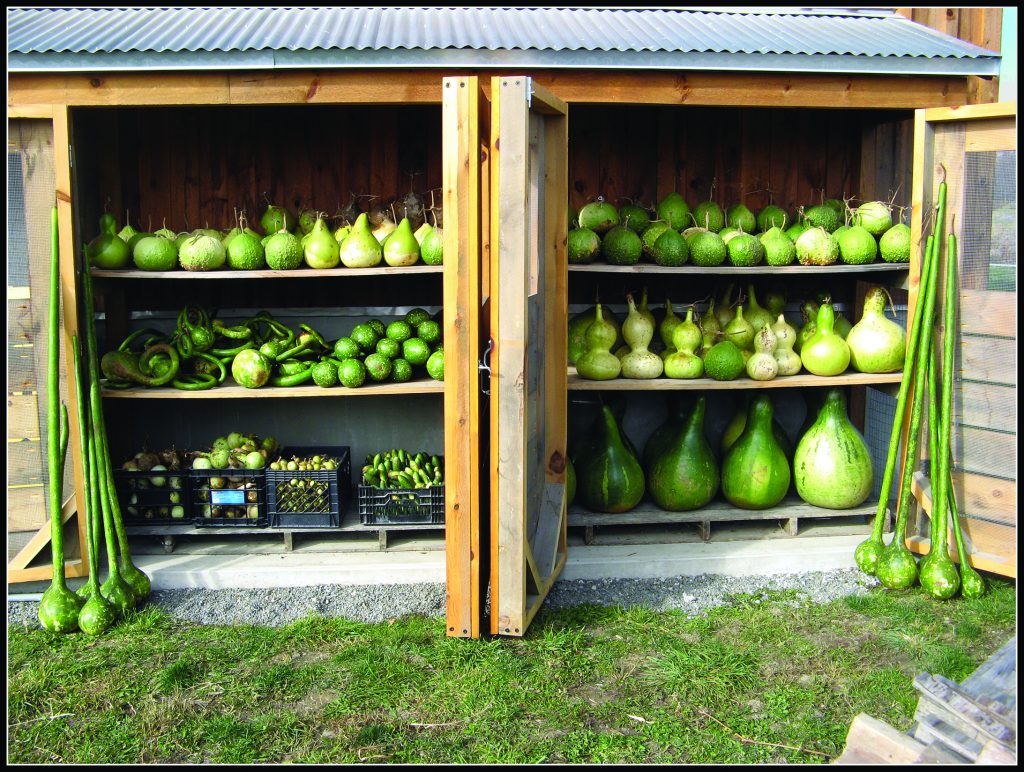 Hard-shelled gourds are broken into divisions: long gourds, such as dipper, snake or club; kettle gourds, like goose-in-the-neck, bottle or canteen; and other gourds, including pear, Mexican bottle or cannonball. All are Lagenaria gourds.
The most popular gourds for beginner artists are Martin or kettle gourds, according to Bitler. Shaped like a pear with a large round bottom and pointed top, kettle gourds can be easily made into birdhouses. You can also cut off the top to create a vase or cut lower down the gourd to turn it into a bowl, he says.
Chinese bottle gourds have a snowman shape and can be turned into birdhouses as well. Dipper gourds have long, thin necks and bulbous bottoms, which can become spoons or musical instruments. Cannonball gourds are small and round and can be turned into lights if you cut off the bottom and hang a light fixture through the top.
Canteen gourds are round, flat and perfect for conversation pieces when stood on their sides, cut toward the top, and hinged to make handbags or storage containers. “Part of the artistry is how you can cut these into different shapes, how you take nature and keep it beautiful,” Bitler says.
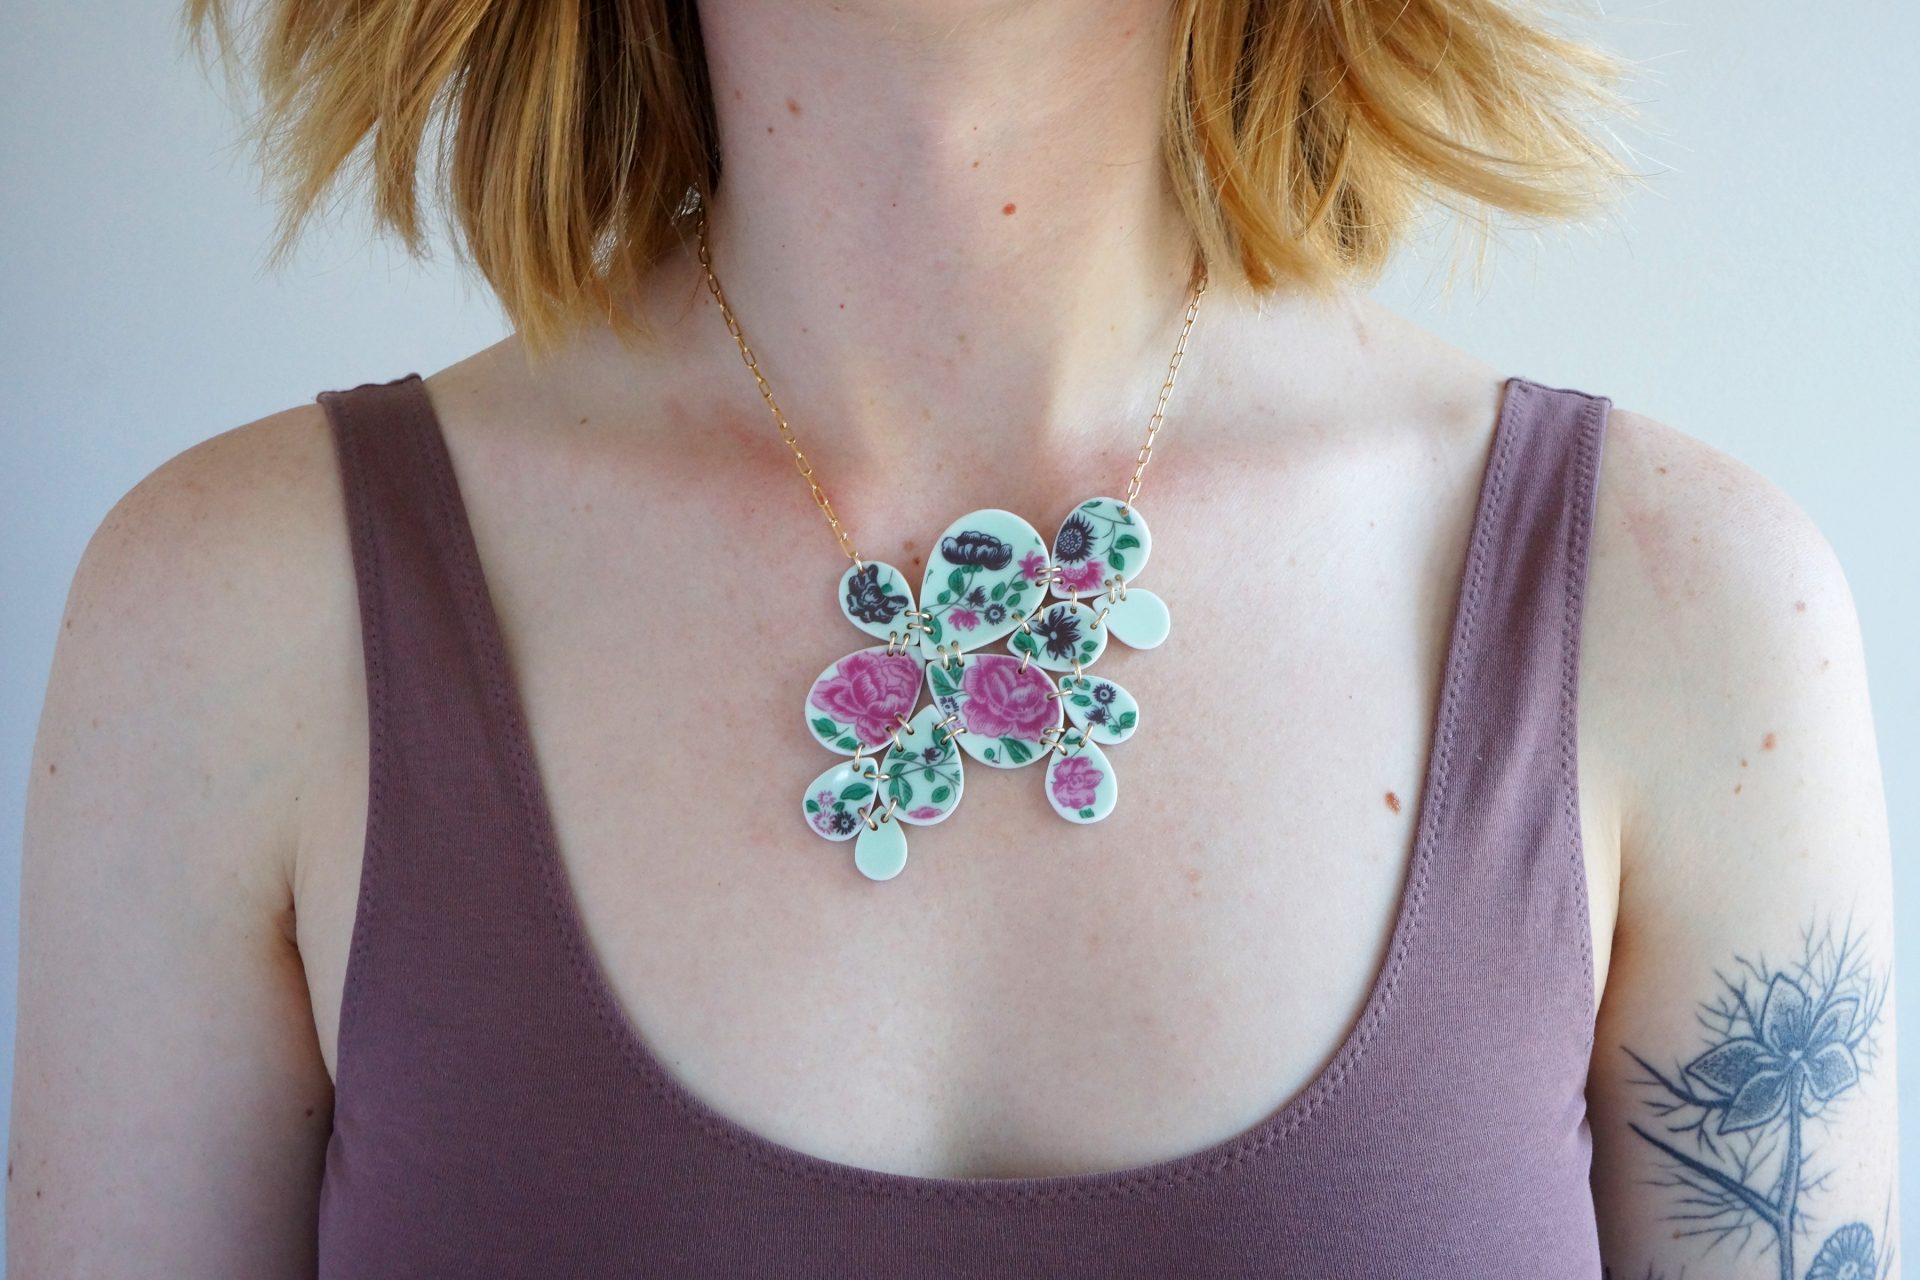
Fashion smaller mini-gourds, like Tennessee spinners or egg gourds, into jewelry or ornaments for trees and windows using colored pencils and tempera paint.
Find more inspiration and details on working with gourds at the American Gourd Society, americangourdsociety.org.
